You all know how much I love my veggies. Especially, when they’re nice and fresh! It seems like everyday more and more, restaurants are choosing to embrace the fresh-food movement by serving up veggies ‘straight-from-the-garden’.
I couldn’t help but wonder, how awesome would it be to make dinner for the fam with your own home grown veggies? Well guess what… you can!
We’ve rounded up all the info you need to grow your own little vegetable garden at home! All these veggies can be grown anywhere in Australia during summer. The best part is, you don’t even need a garden!
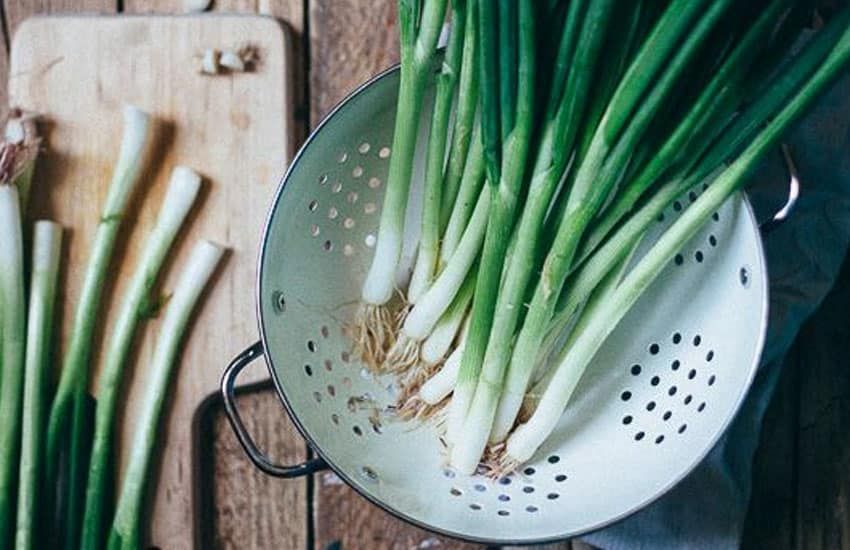
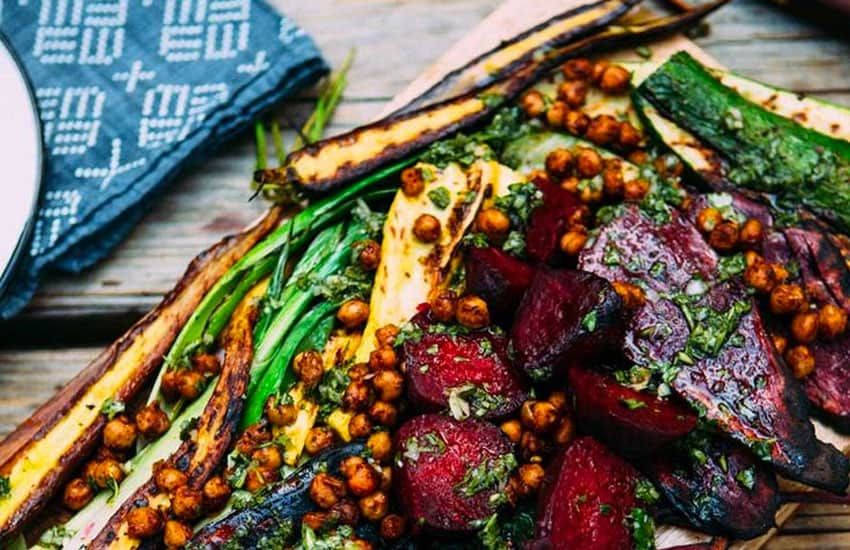
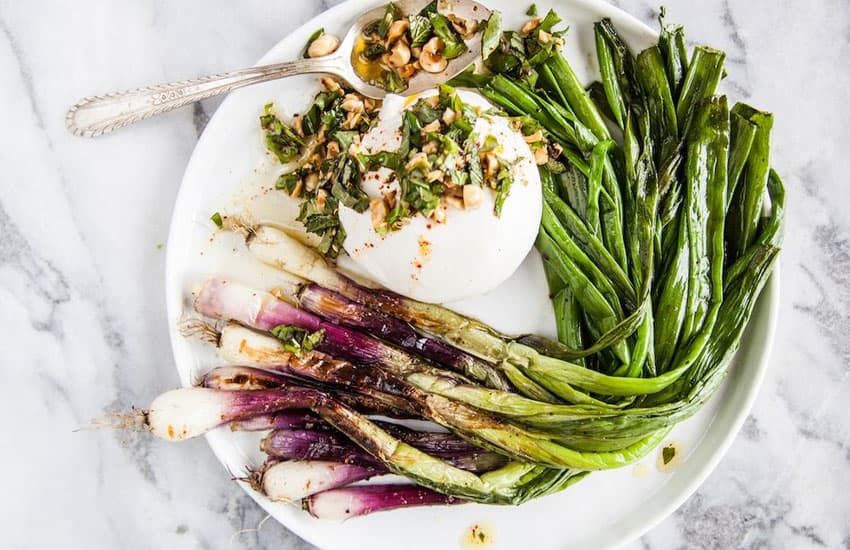
Spring onion
Spring onions are one of the easiest veggies to grow on your balcony. They grow just as well in containers as they do in the garden. You can even grow them on your kitchen bench if you want to!
All you have to do is fill a pot with some good quality soil and sow the seeds about 5mm deep, 5mm apart in rows. Yup, they can be that close together! Just another reason why they’re such a good vegetable to grow at home. They should take about 8-12 weeks to mature.
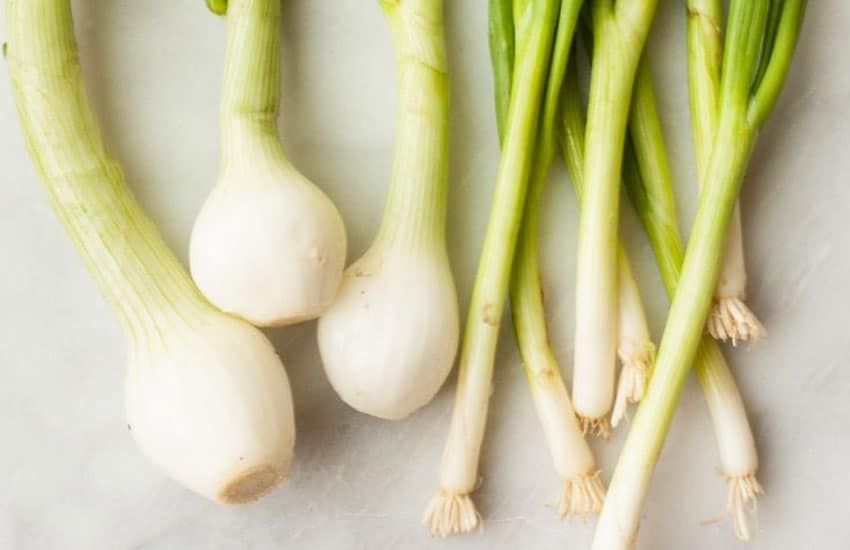
The best part about spring onions is you can keep growing them over and over again! Just wait until the flower head matures and then chop it off and leave it in a paper bag until it’s fully dry (about 2 weeks). Then simply shake the seeds into the bag, scoop them out and store in self-seal bags in a cool dry place until you want to plant them again.
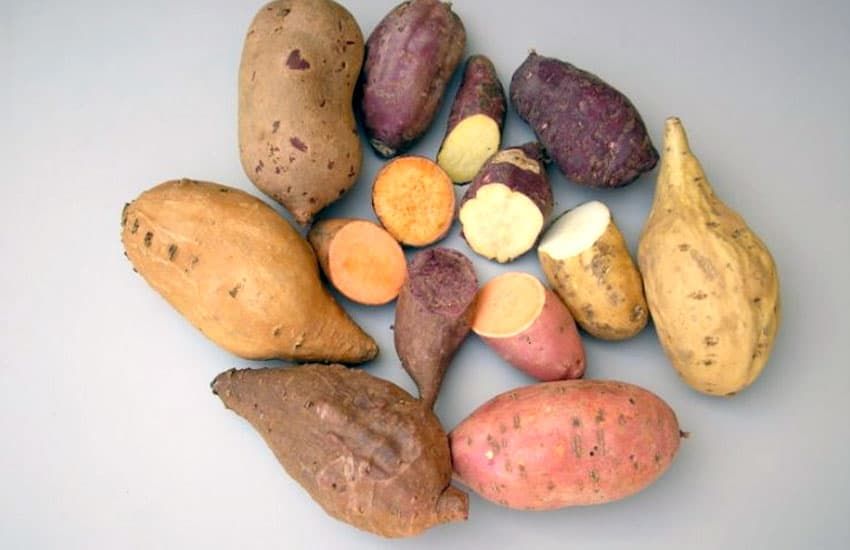
Sweet potato
I never thought I’d be able to grow such big vegetables in containers outside such a little apartment. But as it turns out, I can! In fact, sweet potatoes are often grown this way. So I’ve heard…
The first thing you need to do is create the slips! Start by washing a couple of healthy sweet potatoes and cutting them in half. Next, put each section a glass of water with half the potato submerged and half above the water (I find I need to use toothpicks to keep them in place!)
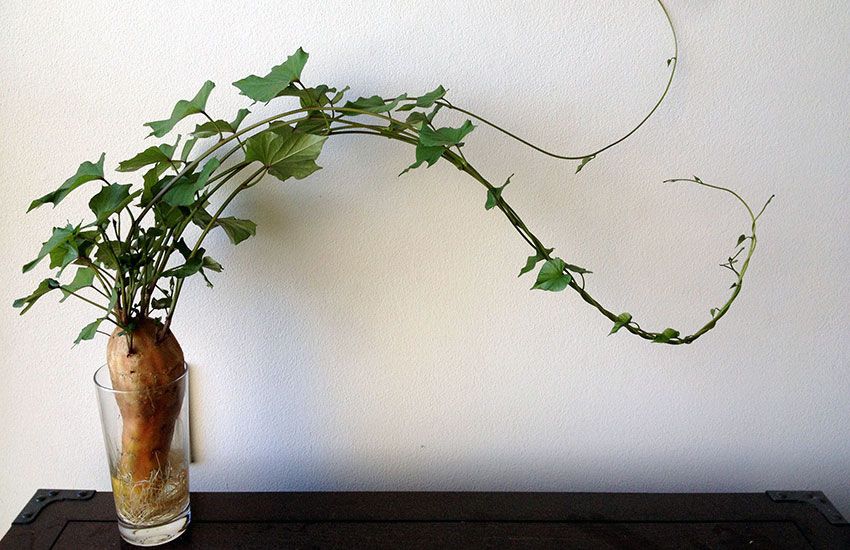
Keep the potatoes in a warm place, such as your windowsill. After that, the bottom of the potatoes will become covered in a whole lot of little roots. Twist these roots and lay them in a shallow bowl with half of the stem submerged in water. Within a few days roots will emerge from the bottom of each new plant. When the roots are about an inch long the new slips are ready to plant!
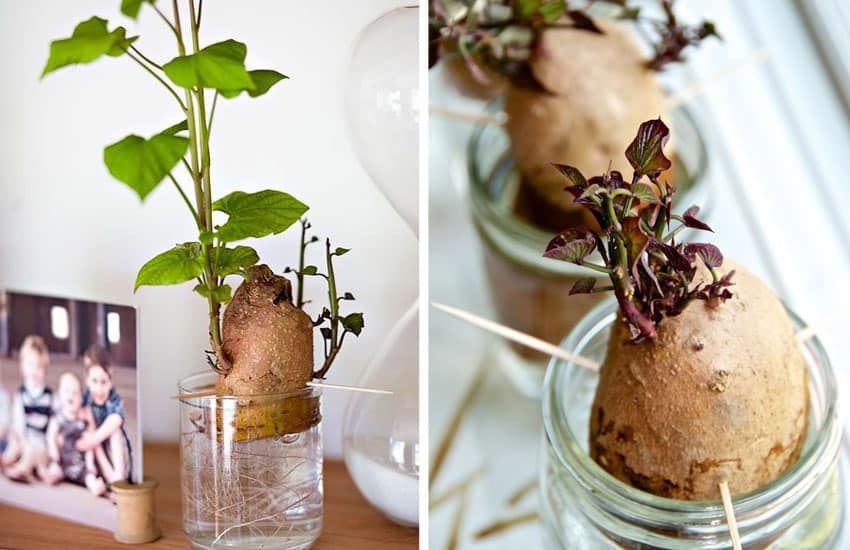
Plant the slips in a clay pot with plenty of sandy soil and a bit of compost. They should be about 5 – 10cm apart, so you may only manage to fit one or two slips per pot. The end product is definitely worth it though! Just make sure you water them at least once a week.
Beetroot
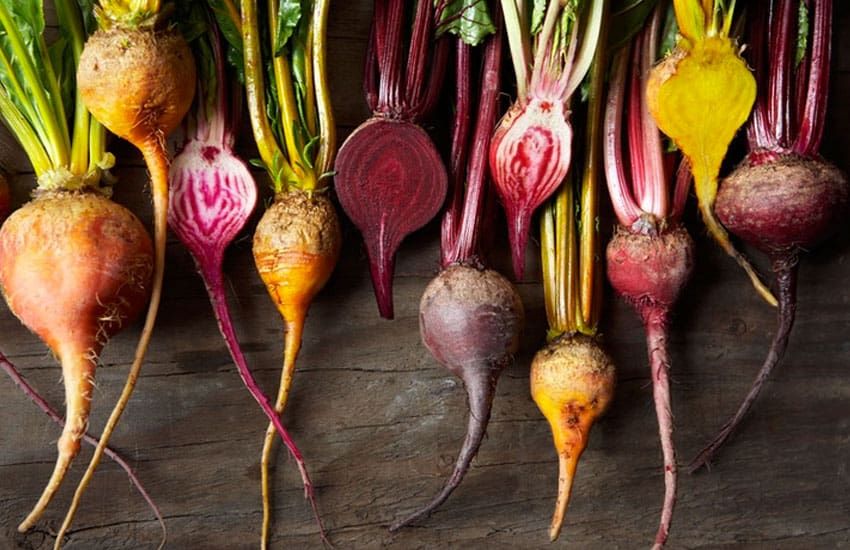
There’s nothing better than adding a bit of sweet, tasty beetroot to your summer salad, especially when it’s fresh from the garden. (Or in my case, a plant pot!)
Beetroot is super easy to grow at home. All you have to do is grab a large container or pot with a few draining holes in the bottom and fill it with some good quality potting soil and a bit of compost. Plant the seeds about 2cm deep. Since they’ll need to be spaced about 30cm apart, you’ll probably only get one plant per pot.
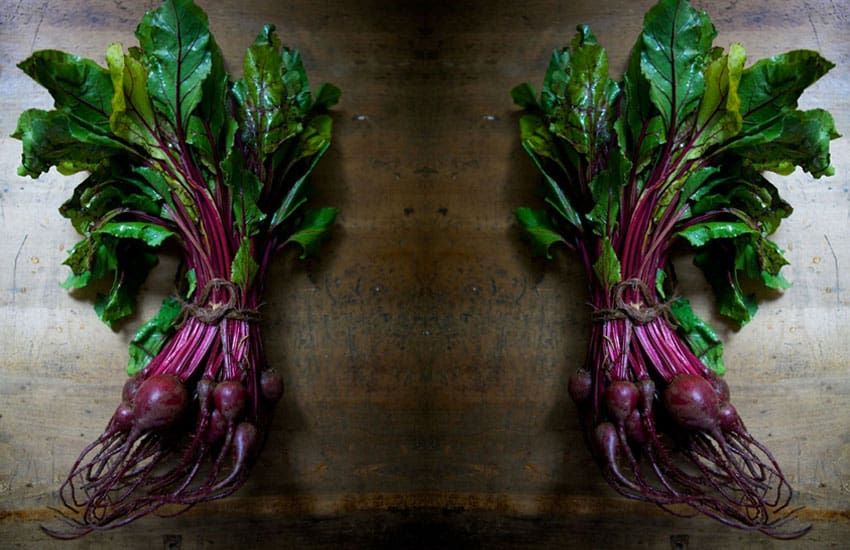
Water them well and keep them in full sunlight and they should be ready in about 7-10 weeks!
Zucchini & cucumbers
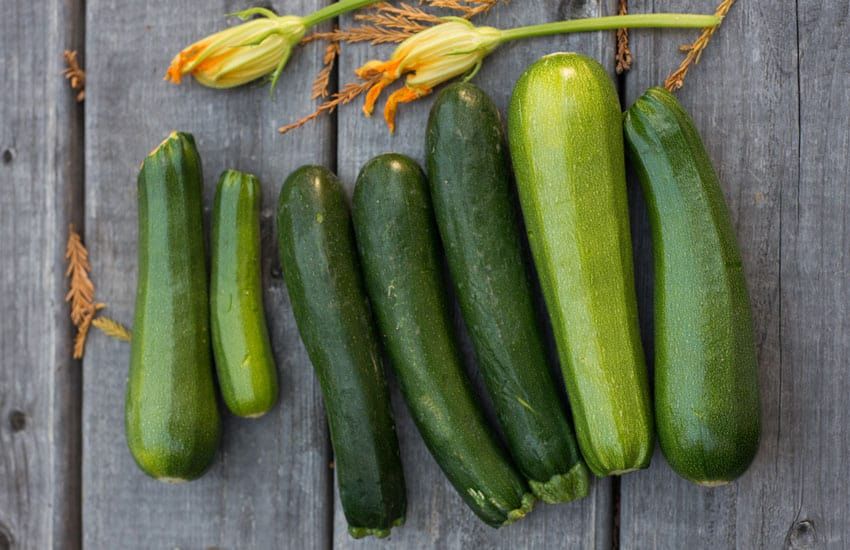
For zucchini’s and cucumbers, you’ll want to check the seed packet first to find out whether or not that specific type requires staking or not. If it does, plant a stake (such as a long piece of wood or a branch) into the soil.
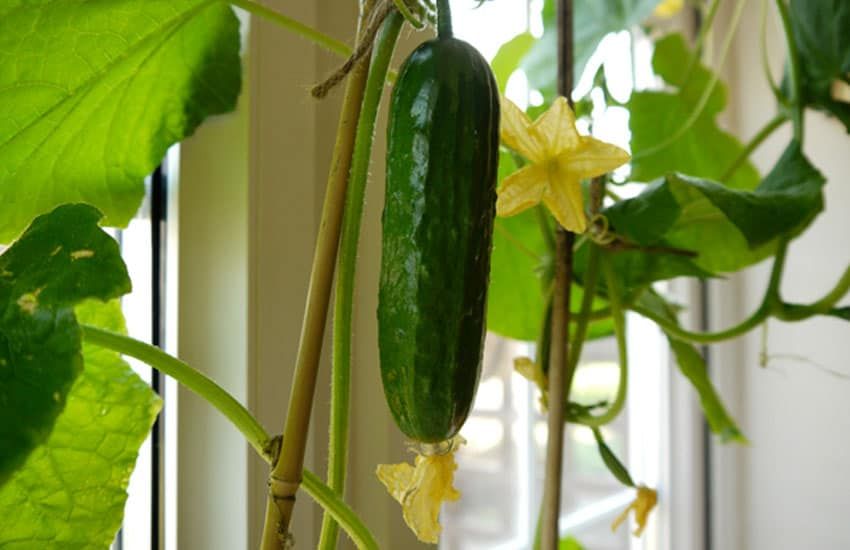
Plant about 5 or six seeds right in the centre of the container about 2.5cm deep and leave the pot in a place where it’ll get tons of sunlight. Make sure to keep the soil moist but not too soggy. As soon as the seedlings start to germinate, cut off the smaller seedlings but leave the largest two intact. When the seedlings are about 20-25cm, cut off the weakest looking seedlings and leave the healthy ones in the container.
Keep your seedlings healthy and you should be able to pick the cucumbers or zucchini’s within a couple of months!
Tomatoes
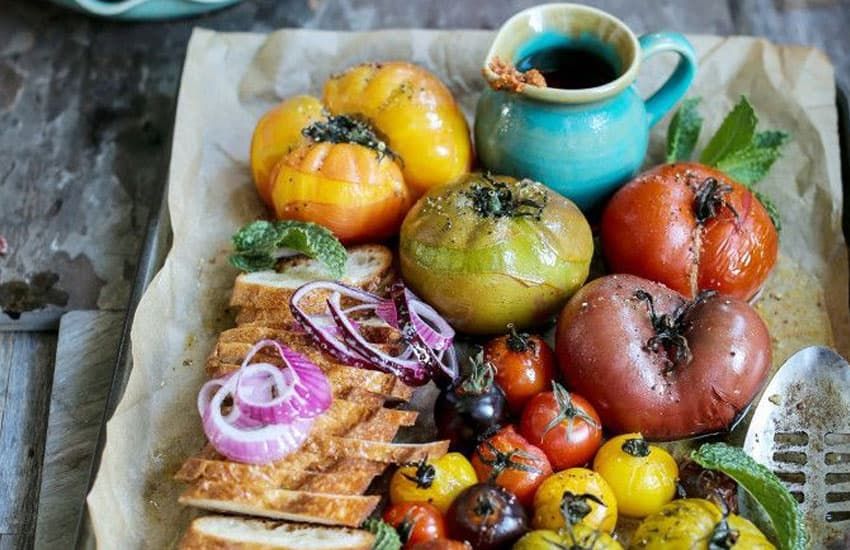
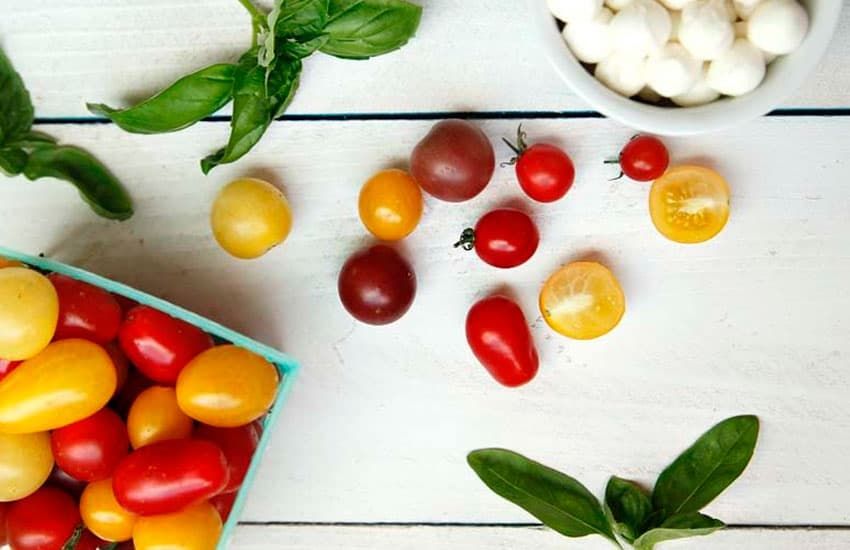
Tomatoes are possible the best vegetable to grow in any size garden. Why? Because they grow upside down!
Grabbing a starter plant from your closest garden centre is the best way to go when growing tomatoes. Smaller varieties like cherry tomatoes or roma tomatoes are easiest to grow upside down, so I tend to go for those.
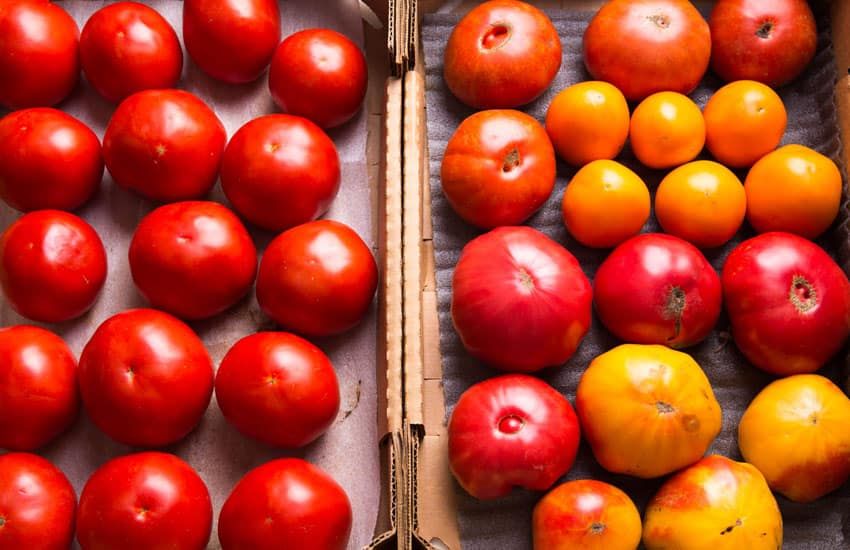
Start by pushing the root ball of the tomato plant through the hole in the bottom of the upside down container. After the root ball is through, fill the upside down planter with moist potting soil. Make sure that the potting soil is wetted down before you put it in the upside down planter because otherwise it’ll be difficult to get water all the way down to the roots! Hence, no tomatoes…
Keep your tomato plant in a place where it’ll get a ton of sunlight and they should be ready to eat within a couple of months!
TIPS:
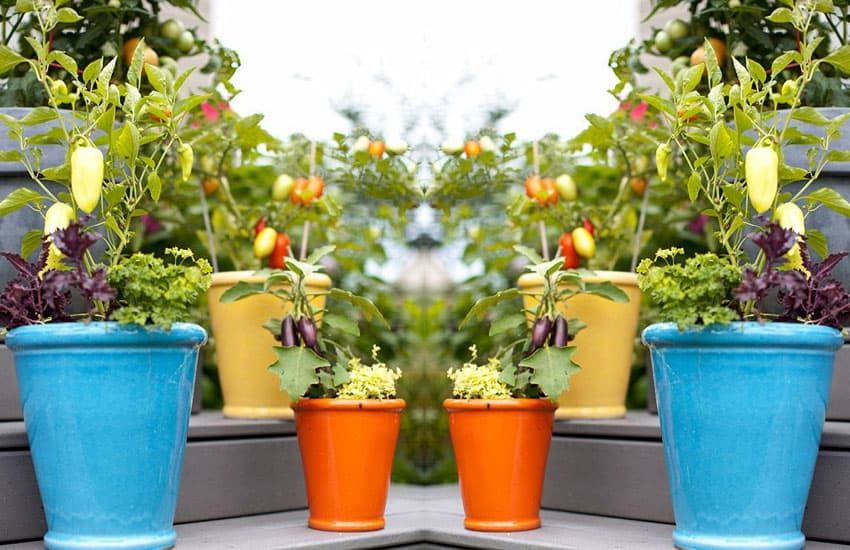
For all these vegetables, make sure you use good quality, store-bought potting soil. Never use soil from the garden.
Make sure any container you use has a few holes in the bottom for proper drainage. Otherwise your vegetables could rot!
Keep your vegetables in as much sunlight as possible to make sure they keep growing!
Now for the important part! What to do with them once they’ve grown…
