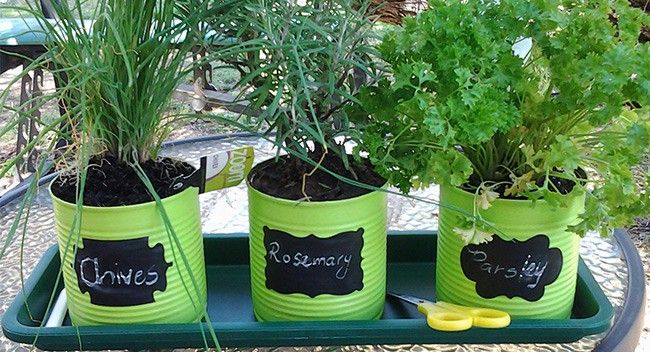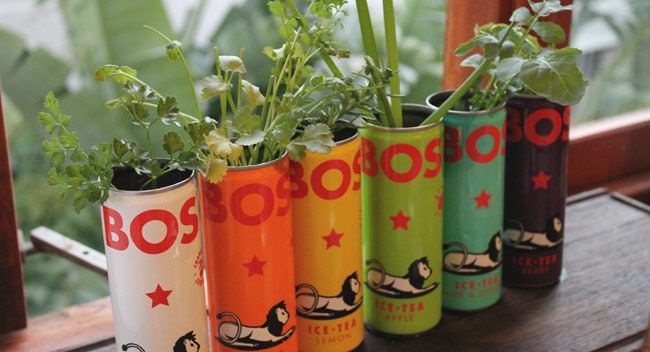
This year I started growing my own herbs for the first time. Being able to walk out onto my balcony and pick some fresh sprigs of mint, basil and thyme to throw right into the pot for dinner makes me so happy (I know, maybe not so exciting for everyone… but hey it’s the little things!).
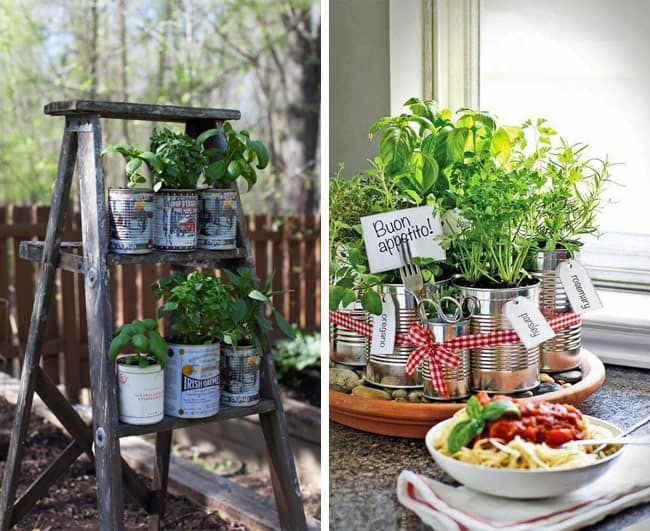
Growing your own herbs can save you money; time and can make your home look great too. It’s easy to get started with a simple tin can herb garden, which brings together recycling (love that), the fresh herbs and a cute addition to your kitchen windowsill or balcony ledge.
If you’ve got some time on your hands (you don’t need too much for this, anyway), some empty tin cans and a bit of creative flair, then get ready to make the most adorable herb garden.
Step 1.
Source some old empty tin cans from your kitchen. Clean them so they’re ready to be filled.
Step 2.
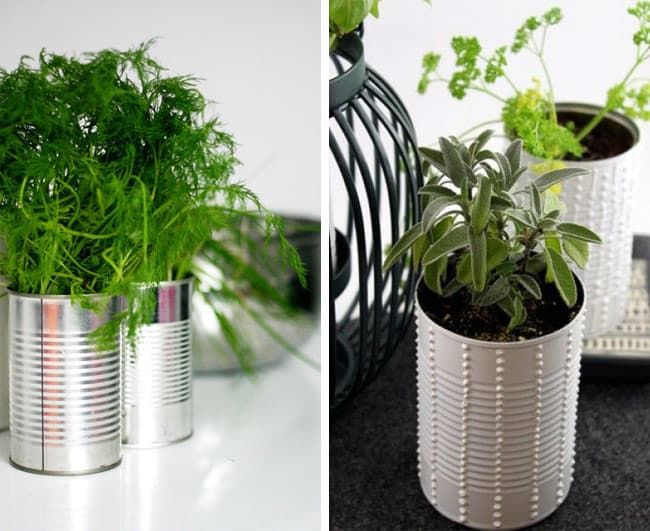
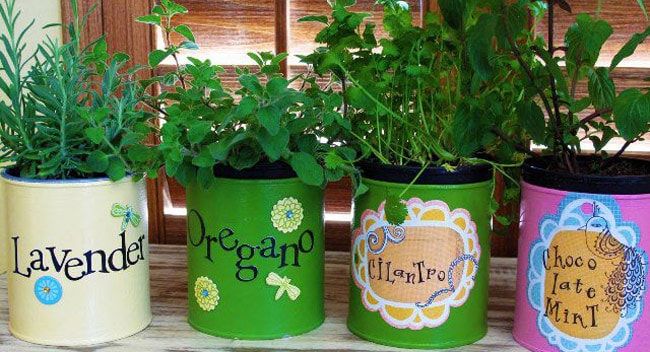
Decorate your tin however you choose. I like to paint my tins white and then using chalkboard paint, make a rectangle on the front to label each one with chalk. I think neon colours look great too.
Step 3.
Choose your favourite herb seedlings and select which tin you want to put them in.
Step 4.
To avoid having to cut a hole at the bottom of the tins for water drainage, instead apply a small layer of pebbles at the bottom of each tin.
Step 5.
Place seedlings in each tin and situate them in the perfect sequence along your windowsill. Let them grow, grow grow!
Have you made a tin can herb garden at home? Send us your snaps!
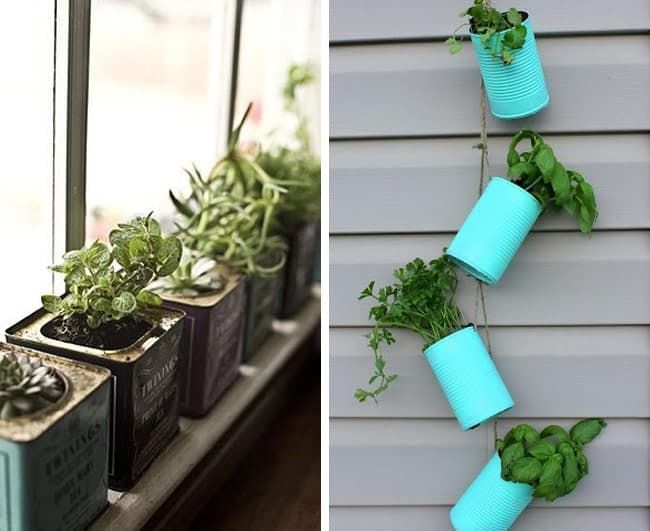
Want more inspiration? Take a look at our gallery:
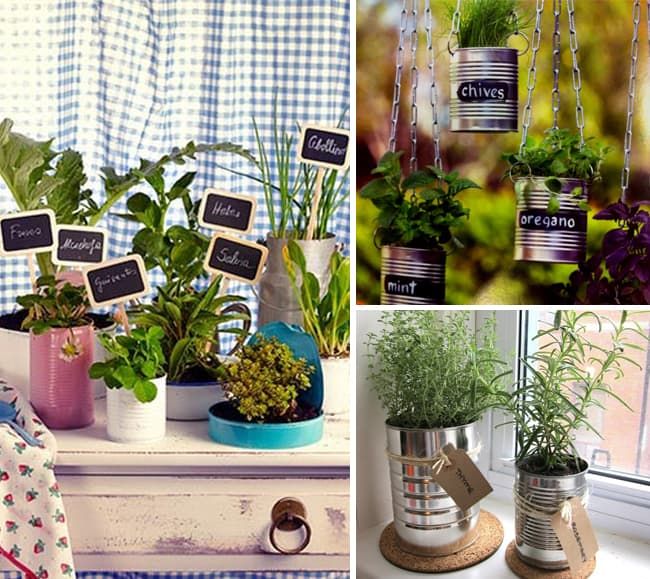
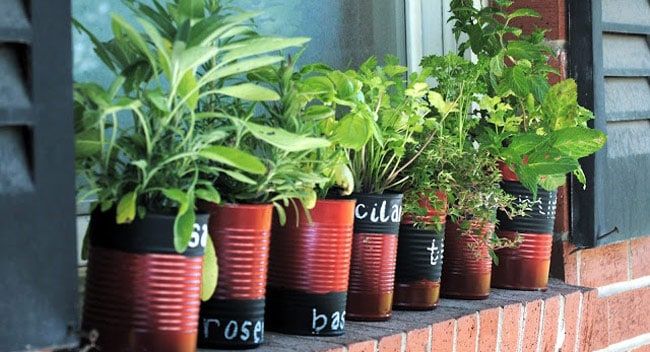
A huge shoutout to our swiish reader Suzanne who sent us this awesome pic below of her DIY Tin Can Herb Garden inspired by our blog post. We love it Suzanne!