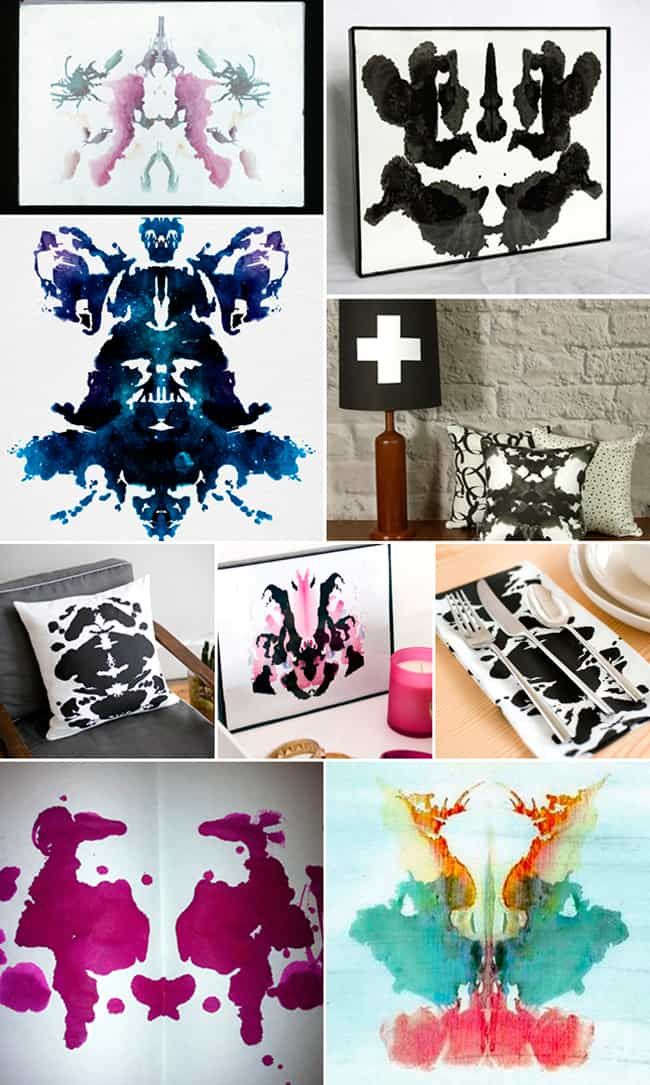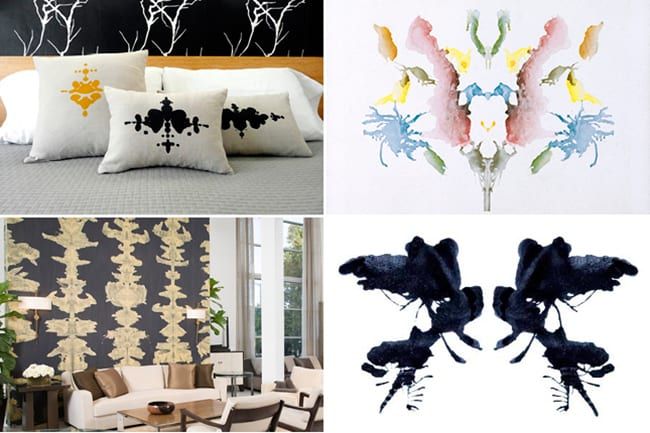
They’ve been used as a psychology tool for decades, but who would have known inkblots look so amazing as home decor?!
I remember playing around with inkblot artworks in primary school (let’s face it, that’s about as far as my artistic talents stretched) but had kind of forgotten about it until recently. You definitely don’t need to be an artist to create these prints – I am proof of that. They are just so fun and easy to do and make a great activity to get kids involved in as well.
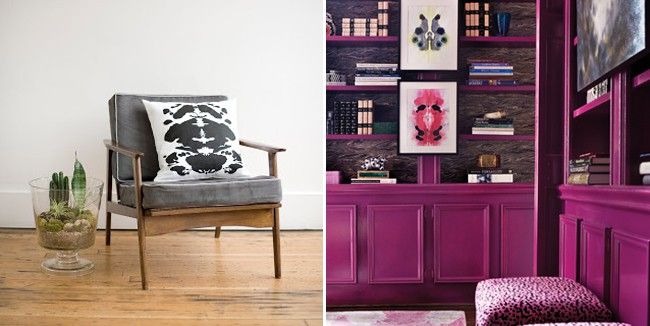
Frame your final product or better yet, have it printed onto cushion covers. As you do more and more of these, experiment with different colour combinations and larger sized paper.
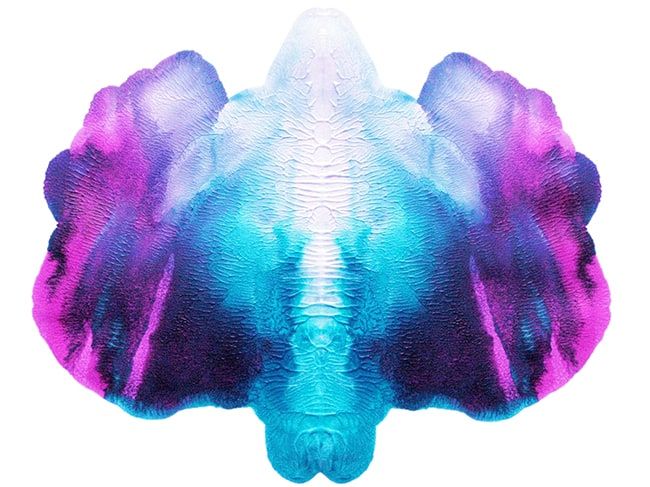
Here’s our oh-so-easy DIY guide to making and styling inkblots:
What you’ll need:
- Paper: light-medium weight art paper or printer paper
- India ink: In a bottle with a dropper (sold at arts and crafts stores)
- Water in a squeeze bottle
What to do:
- Fold paper in half.
- Apply a few drops of water and a few drops of ink on one side.
- Fold the paper and apply pressure with the palm of your hand.
swiish tip:
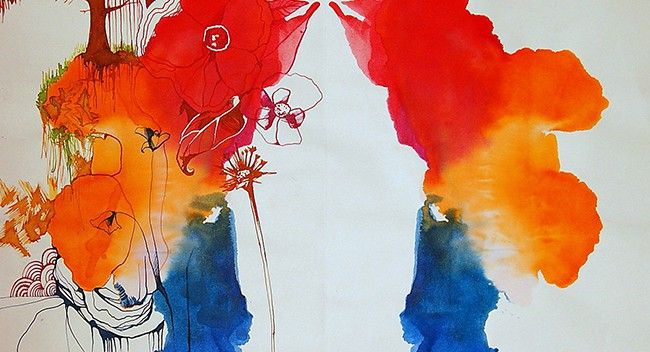
Inkblots can be made with paint as well. The finished look creates a vibrant print to brighting up your wall.
We love inkblots in monochrome or using one bright block of colour (like hot pink) against a white background. Try mixing pastels or neon colours for spring. The options are endless so get your inks out and create something special!
Need some more inspiration? Have a look at our inkblot gallery:
