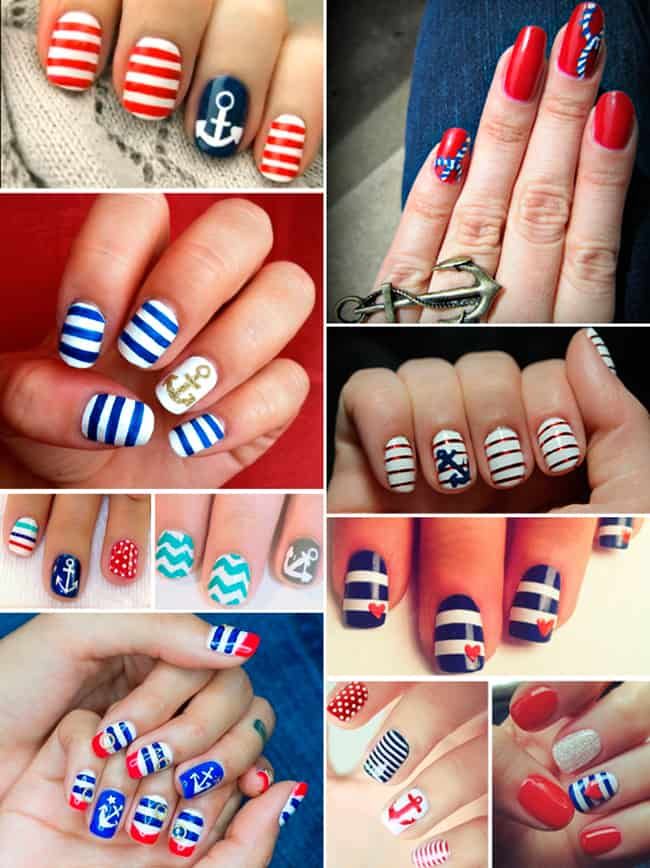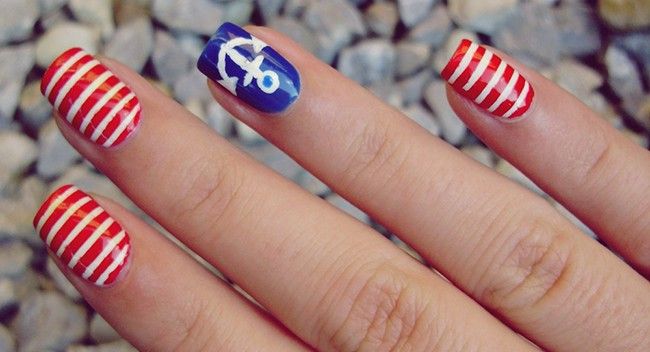
I love everything nautical – striped t-shirts, espadrilles and cut-off shorts. They’re a reminder of summer, the beach and good times. And it seems that many of our swiish readers love nautical too because we have received a heap of emails asking us how to achieve nautical nails at home. With the weather heating up, it’s the best time to try out this nail trend.
What we love about this style is that you can experiment with it – you aren’t just limited to one look. We all know that staple nautical colours are navy, white and red, but we’ve seen some inspiring designs that pair those colours with gold or silver (and you know how I love shiny things!). You can also have fun with embellishments. Our favourite nautical nails feature achors, spots and stripes and chevron.
Follow our DIY tutorial to achieve gorgeous nautical nails. We know the anchor can seem a little daunting, but we promise that if you have the time and patience, it will pay off. For anyone who wants a little more help with the anchor feature, there’s a great step-by-step tutorial below that you can easily do.
Before we start, let us introduce you to the must-have products you’ll need to achieve this sought-after look.
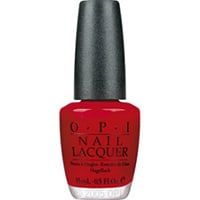 | OPI Kennebuck-port, $17.95A perfect shade of red. |
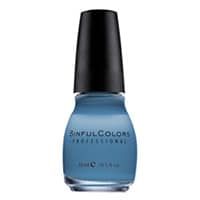 | Sinful Colours Why Not, $4.95.This pop of blue works perfectly as a base for the nautical theme. |
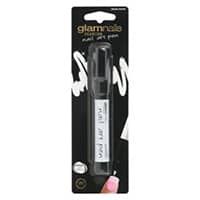 | Manicare Glam Nail Art Pen in White, $9.95.Most tutorials will feature white striper polish. If you have white polish and a striper brush, that’s great. However we reckon it’s easier to use nail art pens. They are easy to hold so achieving your desired design is simple. Plus, they’re available in a range of colours so the possibilities are endless. |
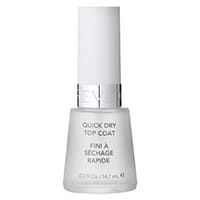 | Revlon Quick Dry Top Coat, $15.95.Any top coat will do the job but we love the quick dry top coat by Revlon. It has your nails looking shiny and complete in an instant. |
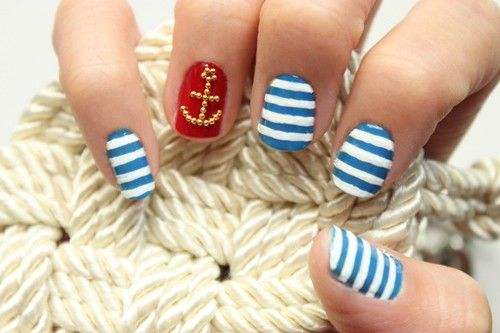
Nautical Nails How-To:
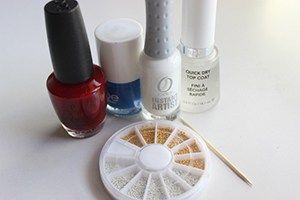 | Step one:Gather your products. For this particular tutorial you will also need:
|
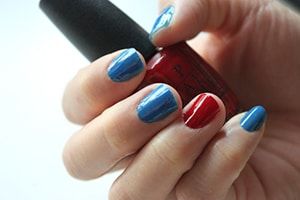 | Step two:Start with a few coats of your base colour. We did blue nails with a red accent nail. |
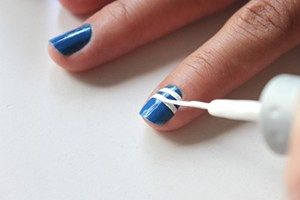 | Step three:Using your nail art pen (or striper brush if you have one) apply thin horizontal stripes of white to your nails to get that cute sailor stripe look. |
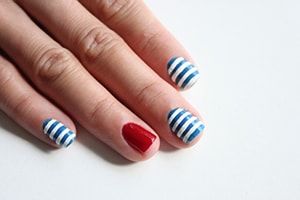 | Step four:Do all of your nails with stripes but skip your accent nail. |
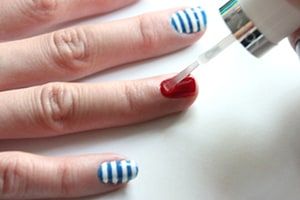 | Step five:Apply a generous amount of top coat and then work quickly for the next step. |
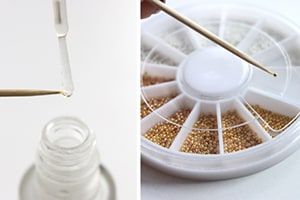 | Step six:Take your toothpick and just dip slightly into some clear polish. Then touch your toothpick to a single microbead to pick it up! |
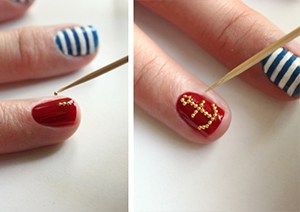 | Step seven:Now that you’ve picked up a single microbead, you can place it onto your wet nail and it will stick right on! Work quickly and pick up beads one at a time to create a little anchor on your nail. |
For those who are looking for an easy to achieve anchor, follow these steps using a nail art pen or striper brush.
Anchor Guide How-To:
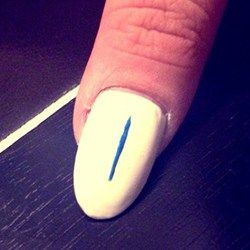 | Step one:Start with a base coat. Create a straight, vertical line through the centre of your nail. |
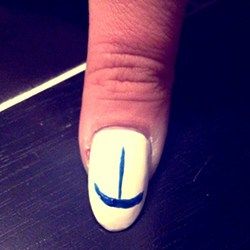 | Step two:Create a curved line at the bottom. |
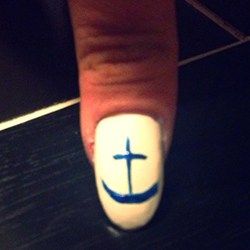 | Step three:Make a horizontal line in the middle of the original vertical line. |
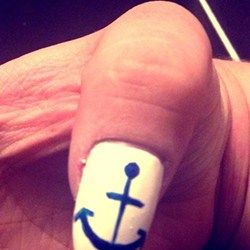 | Step four:Add a dot at the top of the anchor. This is easily done using the tip of a bobbypin. Draw small arrows at the ends of the curved line. |
*courtesy of snapguide
Check out our image gallery for more inspiration:
