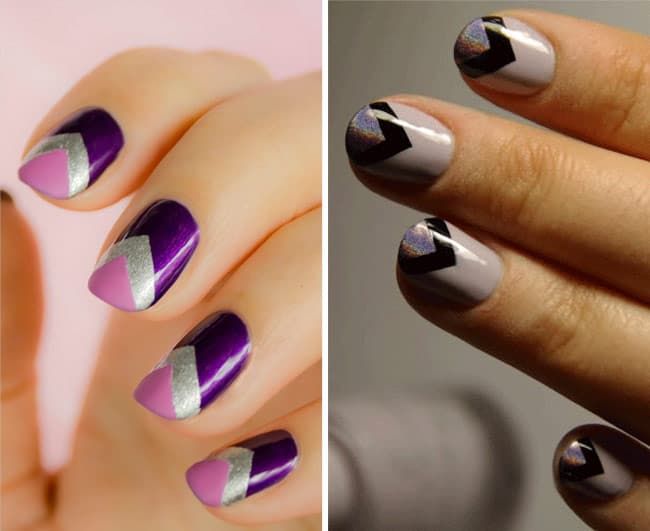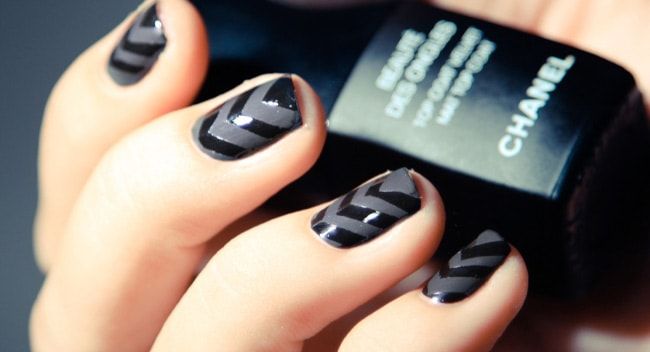
We’ve had some questions come through from readers on how to go about getting the chevron nail look. This look been a big trend over the last year and is sure to stick around.
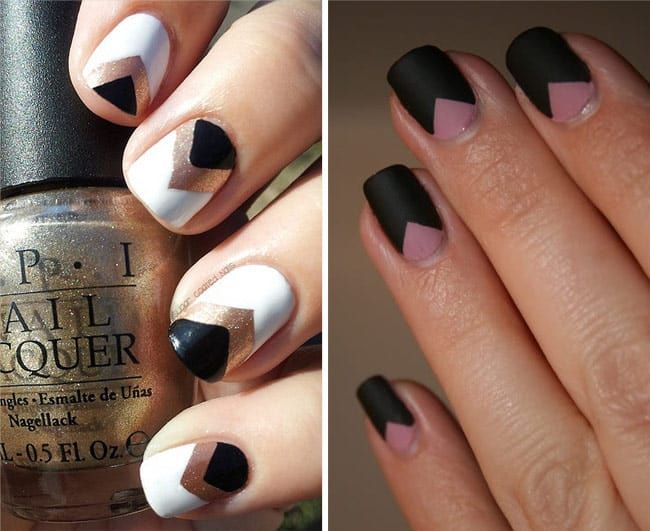
What I love about the chevron nail look is that it’s creative; it’s on-trend; yet it still looks quite classy due to the clean lines of the art. So we’ve got the know-how, all you need is a couple of different nail polish colours and Scotch tape to get you on your way!
If you don’t have Scotch tape handy, then masking tape or another type of sticky tape should work just fine. We just need the tape to not be super super sticky so that you can easily peel it off. One way to do this is to put the tape against your skin and pull it off to remove some of the stickiness before you put it on your nails.
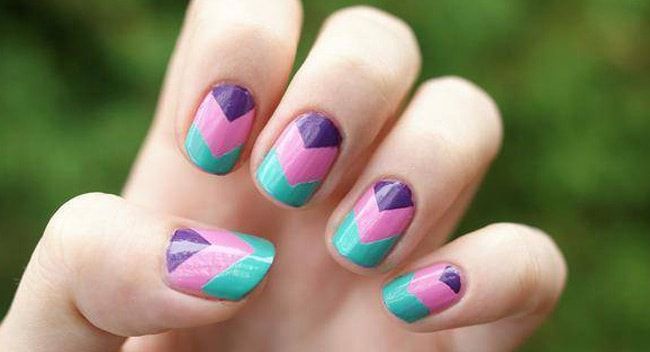
Today we’re going to do a bright, bold look. Ever since autumn has hit, I’ve been in denial that colder weather is coming so nothing like a little pop of colour for a pick-me-up! We have chosen a great lemon yellow and fairy floss pink combination but really, you are only limited by your creativity, so choose any combo you like. I’m also a fan of silver glitter and navy, teal and pale baby pink or neutrals like off-white and taupe. The options are endless.
One last thing before we get started. If you’re rushing to do your nails before racing out the door, this look won’t work. It relies on patience and a bit of time, as your nails need to dry completely between each step. You can use fast drying polish (as we will do now), but even then, you want to wait longer than the stated drying time of the polish in order to be sure that when you use the Scotch tape, it doesn’t ruin the look.
Step one: Paint on your base colour and wait for it to dry completely. We used Revlon Nail Enamel Top Speed in Electric as it dries more quickly than regular polish. It’s best to have the lighter colour as the first coat as we’ll be painting with a darker colour over the top.
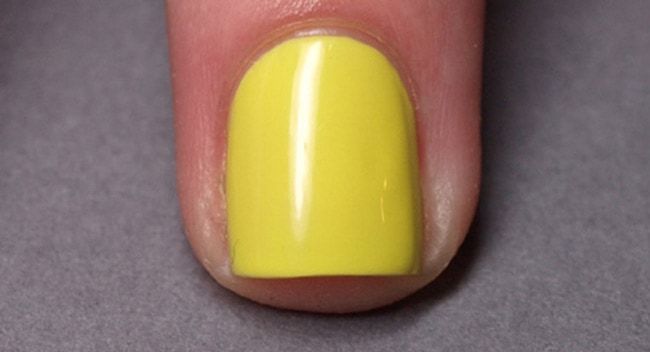
Step two: Cut a piece of Scotch tape and use the corner of it to mark off a triangle at the base of your nail. Again, if your base colour isn’t 100% dry, the tape will definitely ruin the whole look. Press the edges of the tape down firmly so that there won’t be leakage when you do the second coat.
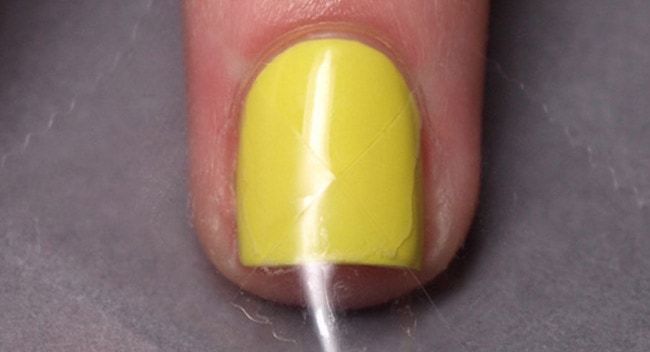
Step three: Moving along one nail at a time, paint the second colour over the top of the nail and tape. We used the same Revlon Nail Enamel Top Speed polish but this time in Orchid.
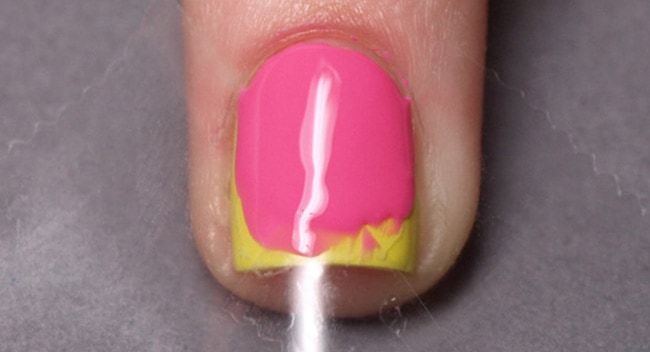
Step four: As soon as you have painted this layer of polish, very, very carefully peel off the tape from the nail (i.e. while this second colour is still wet). If you invest in some good quality nail polish you shouldn’t experience any problems with polish peeling off from your already dried coat.
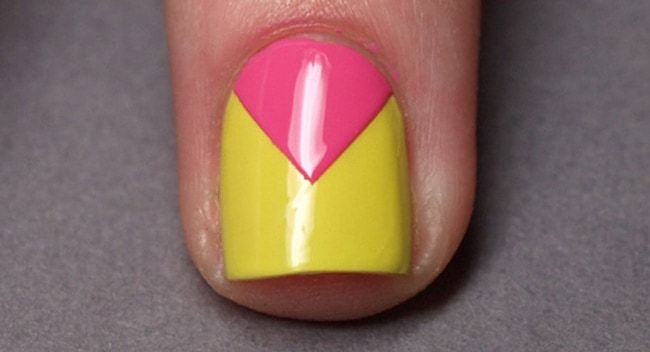
Step five: Once you’ve completed this for each nail, you can now finish them off. The Revlon nail polishes do have a built in topcoat but to ensure all the ridges are smoothed off nicely we recommend using an additional topcoat. Try Sally Hansen Mega Shine Extended Wear topcoat.
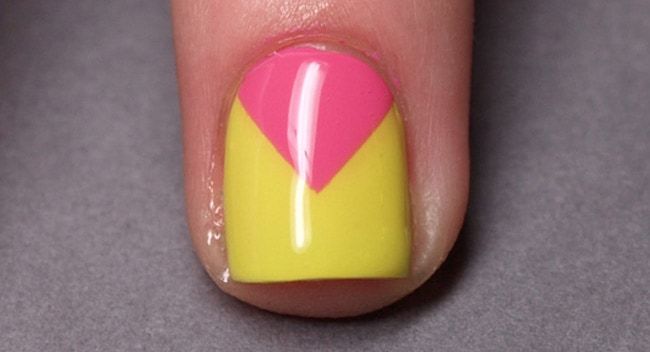
Step six: If there are any stray spots of polish left around your finger-tips, use a small paintbrush or a small cotton tip dipped in nail polish remover to clean it up and voila! You’ve just created your very own chevron nails look.
swiish tips:
If you want to add a third row of colour, simply cut new tape and repeat the process above, positioning the tape further up your nails close to your fingertips. You can also try cutting your tape into different patterns or shapes to create a different look for your nails. Zig-zag scissors or pinking shears are excellent for creating patterns. With the polish, make sure to always remember to keep the lighter shade as the first coat.
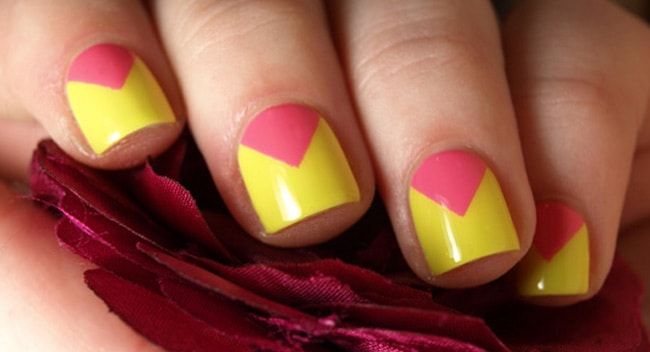 *adapted tutorial and step by step images courtesy of makeupandbeautyblog.com
